☰
Building materials catalog
BIM solutions
Architect gallery
Detail drawings
Textures
Contact
BIM shop
ENG
Sign in
Eptar BIM solutions
The Tondach Roof Designer has been renewed
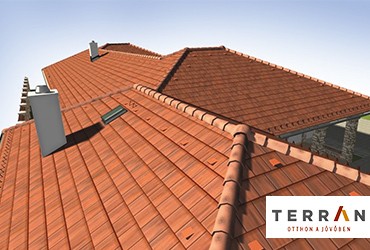
Terrán Rooftiling Solution for ARCHICAD
Bramac Roof Designer for ARCHICAD
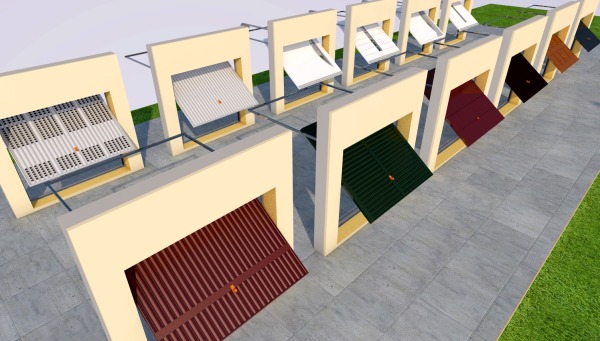
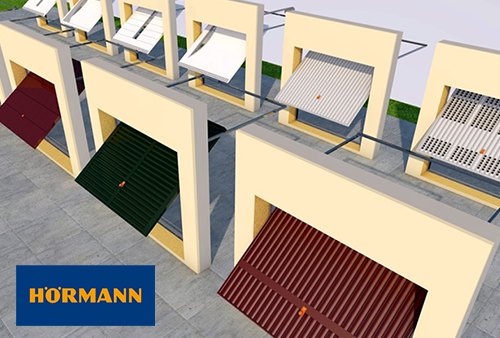
Hörmann Residential and Industrial gates library
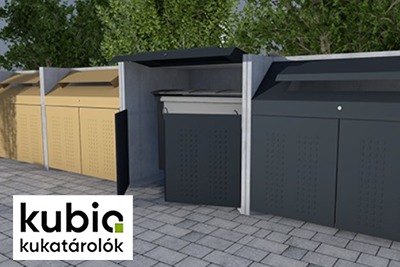
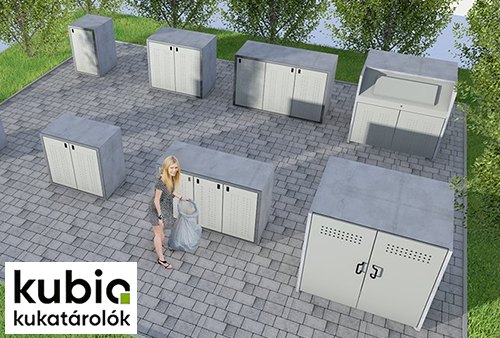
Trash Container Product Library
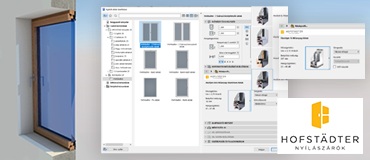
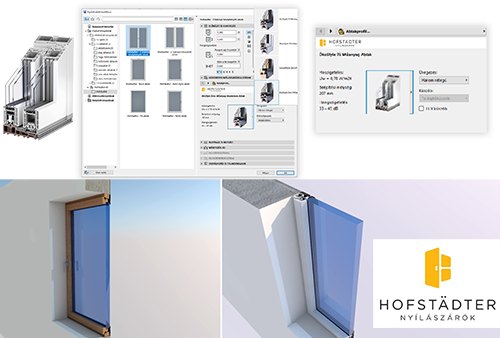
Hofstädter library
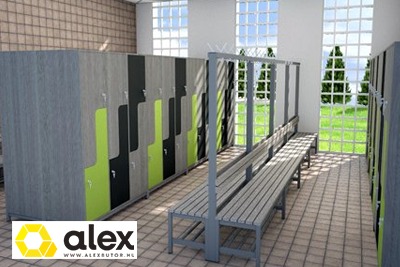
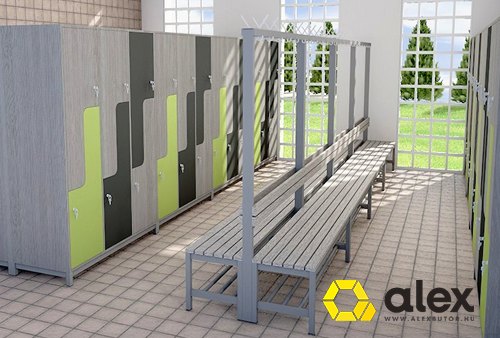
New ALEX FURNITURE library
The new Rigips add-on is available on our site
CAD accessories
GDL product libraries
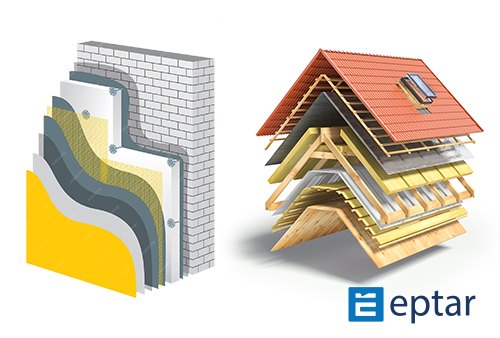
Composite designer
Videos
CAD accessories
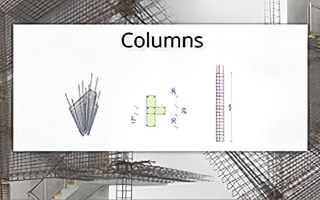
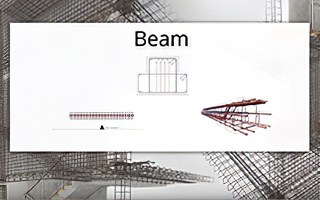
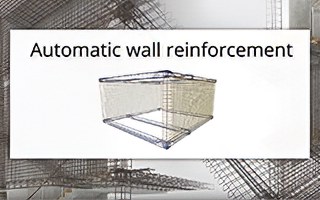
[eptar] Reinforcement 7 (AC 23-29)
[eptar] Tiling 3.9 (AC 23-29)
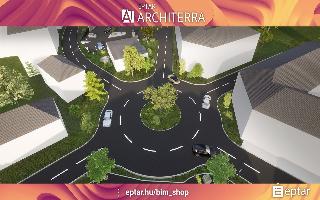
Architerra 6 (AC 23-29)
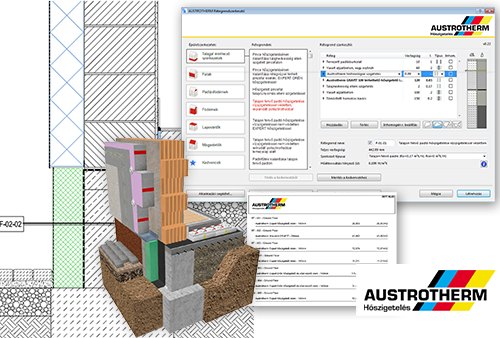
Austrotherm Composite Editor
Bramac Rooftiling Solution
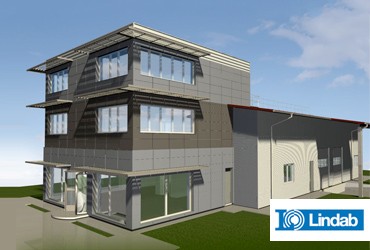
Lindab product systems
Rigips product systems
Terrán Rooftiling Solution
Tondach Rooftiling Solution
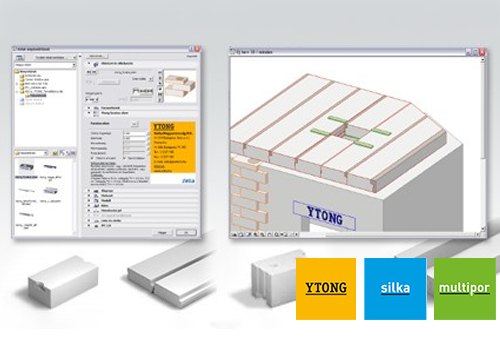
YTONG Masonry blocks and insulation solution
GDL product libraries
Trash Container Product Library
Alex Furniture Library
Hofstädter Product Library
Hörmann Product Library
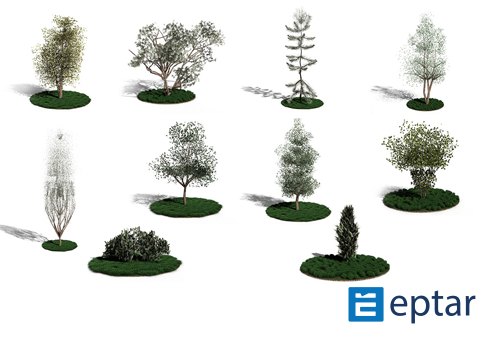
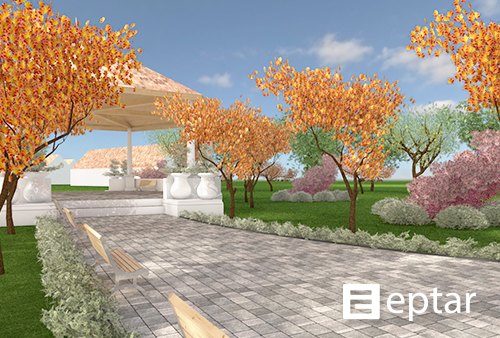
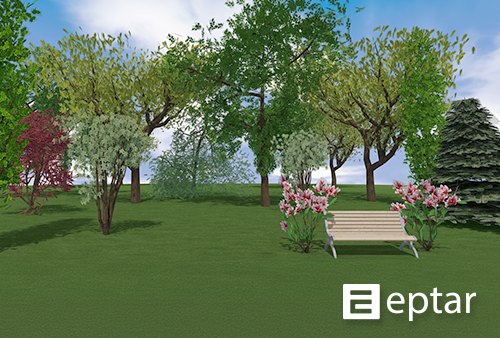
Plant Designer III.
Plant Designer Christmas Collection
Plant Designer Starter Collection
Aliplast Openings and Façade library
SCHIEDEL Chimney Systems
Xella YTONG product library
Floor Covering
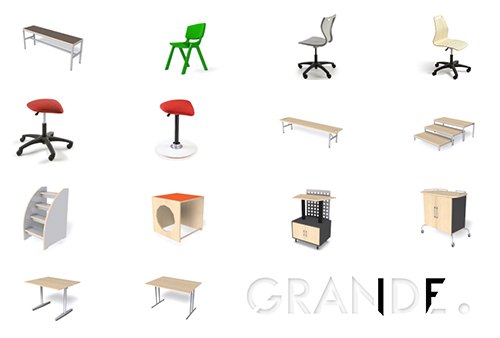
Grande furniture library
[eptar] Accessory Objects
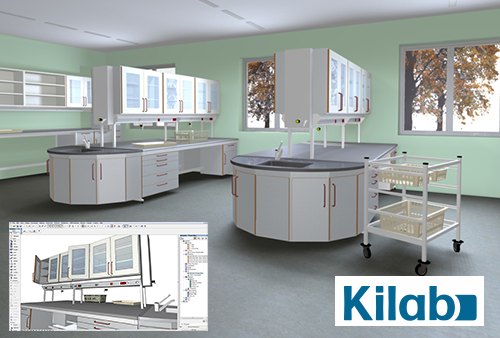
Kilab laboratory furniture library
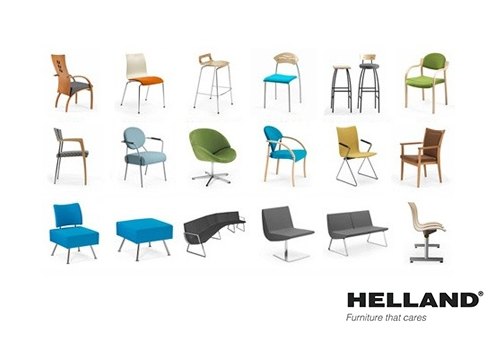
Helland furniture library
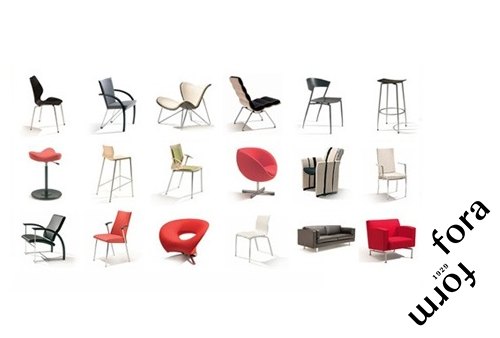
ForaForm furniture library
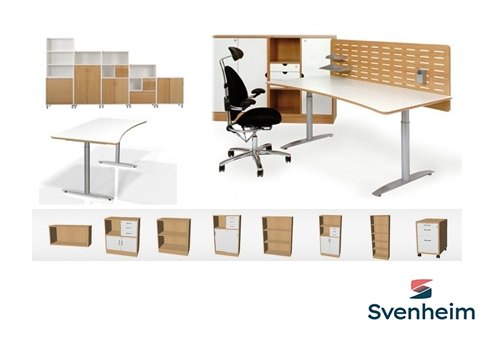
Svenheim furnitures
Varier chair product library
PaolaLenti Outdoor Furnitures
Ekornes library
NCP library
Composite designer
Composite editor
Further Product Libraries
ACO channel systems, fanlights, domes
Hörmann garage doors
Metalobox locker product library
Roto skylight product library
Gate docking system
Kingspan insulated panels
T-markt garage doors
Internorm openings
Hofstädter openings
Kingspan texture library
Rolla Súdió interior doors and garage doors
ArchiCAD Solutions Videos
Reinforcement stair ...
Reinforcement pad foundation ...
Reinforcement column slab ...
Reinforcement spiral stirrup ...
Reinforcement curved wall ...
Reinforcement wall ...
Architerra webinar 202310 ...
Reinforcement webinar 202310 ...
New column features in Reinfor ...
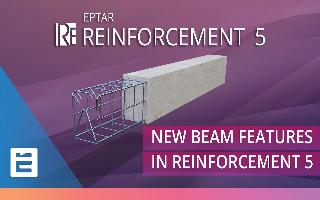
New beam features in Reinforce ...
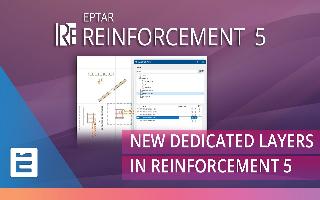
New dedicated Layers in Reinfo ...
Reinforcement webinar 2023 ...
EPTAR REINFORCEMENT 4.0 | Comp ...
Architerra Plus | Gradient to ...
Architerra Plus | Ditch tool ...
EPTAR TILING 3.5 | How to crea ...
Architerra Plus 3.0 ...
Architerra Plus 1.5 Camera Mot ...
EPTAR REINFORCEMENT 4.0 | How ...
EPTAR REINFORCEMENT 4.0 | How ...
EPTAR REINFORCEMENT 4.0 | How ...
Eptar Reinforcement Install an ...
EPTAR REINFORCEMENT CAMERA MOT ...
EPTAR REINFORCEMENT | How to c ...
EPTAR REINFORCEMENT | How to c ...
EPTAR REINFORCEMENT | How to c ...
EPTAR REINFORCEMENT | How to c ...
EPTAR REINFORCEMENT | How to c ...
EPTAR REINFORCEMENT | How to c ...
EPTAR REINFORCEMENT | How to c ...
EPTAR REINFORCEMENT | How to c ...
EPTAR REINFORCEMENT | How to c ...
EPTAR REINFORCEMENT | How to c ...
EPTAR REINFORCEMENT | How to c ...
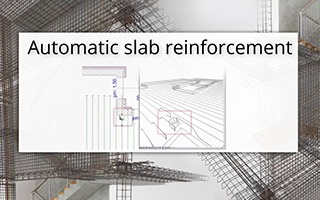
Automatic slab reinforcement ...
EPTAR REINFORCEMENT | How to c ...
EPTAR REINFORCEMENT | How to c ...
EPTAR REINFORCEMENT | How to c ...
EPTAR REINFORCEMENT | How to ...
EPTAR REINFORCEMENT | Automa ...
Like all websites, eptar.hu uses cookies for better and safer operation.
More information
Accept


 Like all websites, eptar.hu uses cookies for better and safer operation.
More information
Like all websites, eptar.hu uses cookies for better and safer operation.
More information
![[eptar] Reinforcement 7 (AC 23-29)](/gfx/megoldasok/reinforcement7.jpg)
![[eptar] Tiling 3.9 (AC 23-29)](/gfx/megoldasok/tiling_2024.jpg)


![[eptar] Accessory Objects](/gfx/megoldasok/eptar_kiegeszitok_uj.jpg)